We have made a lot of significant changes on Ecommerce 2.0
Here are the Top 3 most notable ones:
1. Lightning speed loading
The previous version, we used pure S.P.A. (Single Page Application) for the entire Ecom store.
Here's how SPA's work:
Assets are first fetched on the server and loaded. Once all the scripts are loaded, then there's no more loading time and user experience would become very smooth.
Unlike traditional websites, whenever a user navigates to another page, the whole website reloads. It gets resources from the server again and again and again. This loading time when accumulated results in a longer load vs SPAs.
But there's a downside. The initial loading would be slower as the resources would need to be downloaded first before the website can be loaded.
So here's the solution...
We combined the advantages of traditional website and the smooth responsiveness of SPA's
Thus, MMIO Ecom V2.0 was created.
Test Ecom V2.0 yourself and feel the significant page loading improvement vs V1.0
2. SEO Friendly
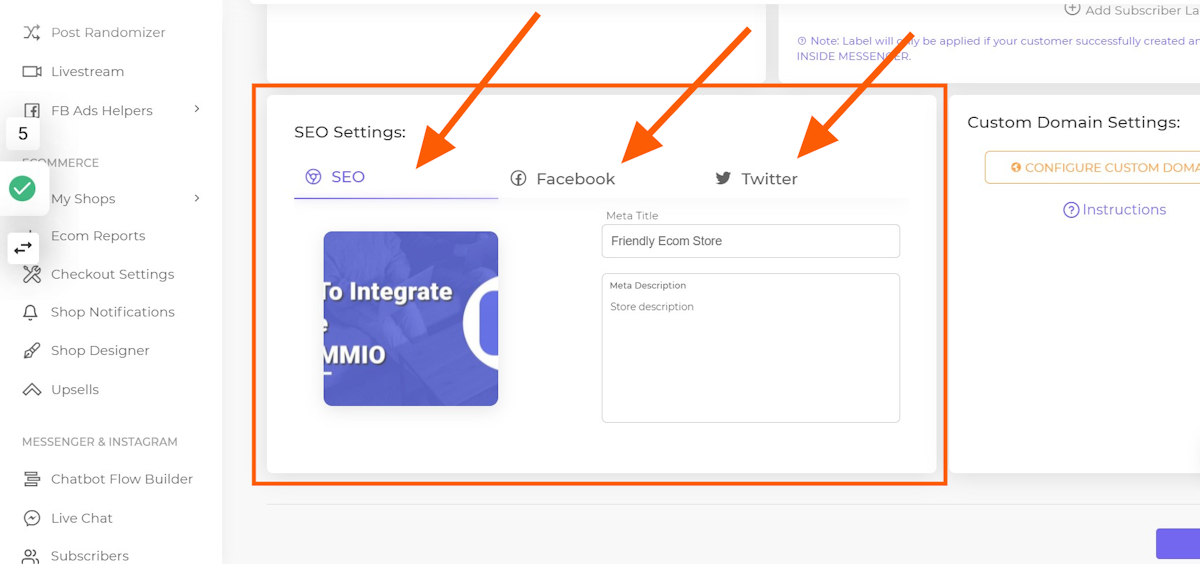
We added important SEO capabilities. Here's the list of these features:
Sitemap
Search Engine crawler friendly mark-ups
SEO friendly URLs
Product Rich Text Schema mark-ups (JSON-LD)
Meta titles and Meta descriptions
Social Media sharing Meta

3. Layout Changes
We have greatly improved the UI so your customers can easily navigate and buy from your store.
From desktop to mobile layouts transitions would be seamless.
See sample layout changes for the checkout page.


4. Subdomain Support
Previously, only main domain are allowed. But with the launch of V2.0, you an now use your own Sub-domain for your Ecom store.
5. CNAME Support
It's now easier than ever to connect your domains and sub-domains to MMIO Ecom. Simply point your CNAME to our domain "marketingmasterio.net"
6. Store Alias
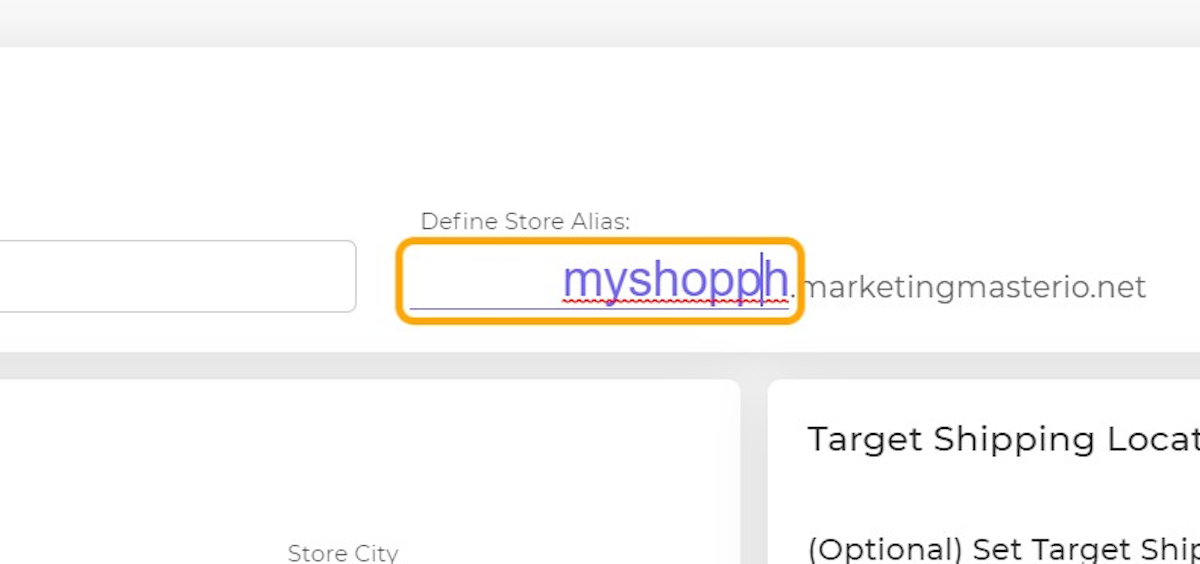
Even if you don't have a custom domain, you can now personalize the Site url of your Ecommerce store by setting your store alias.
Creating Your Store Alias
1. Login to your MMIO Account
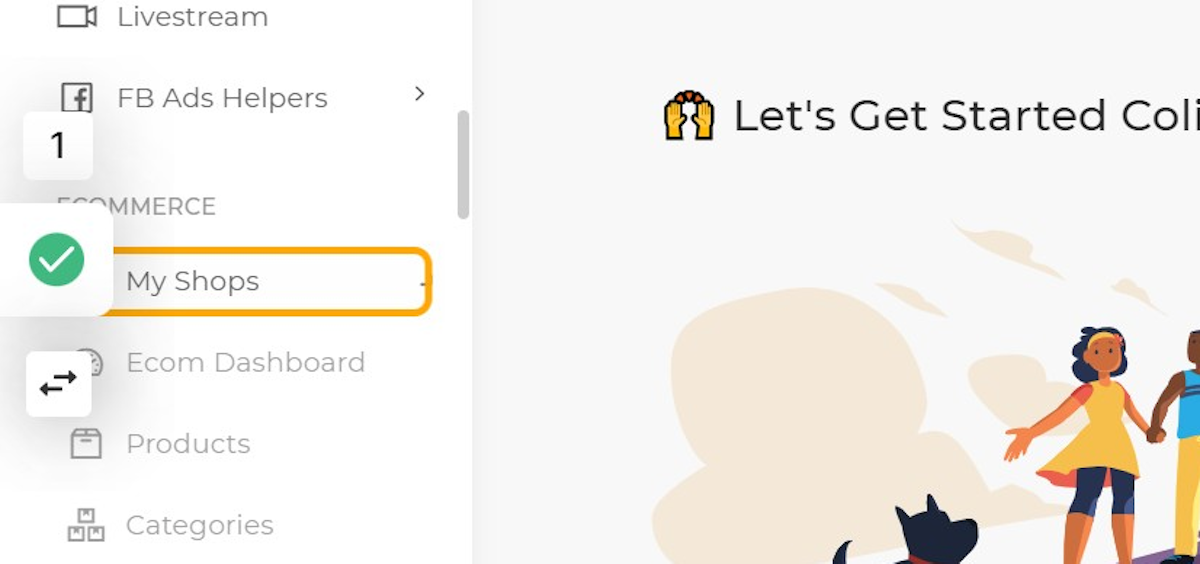
2. Click on My Shops
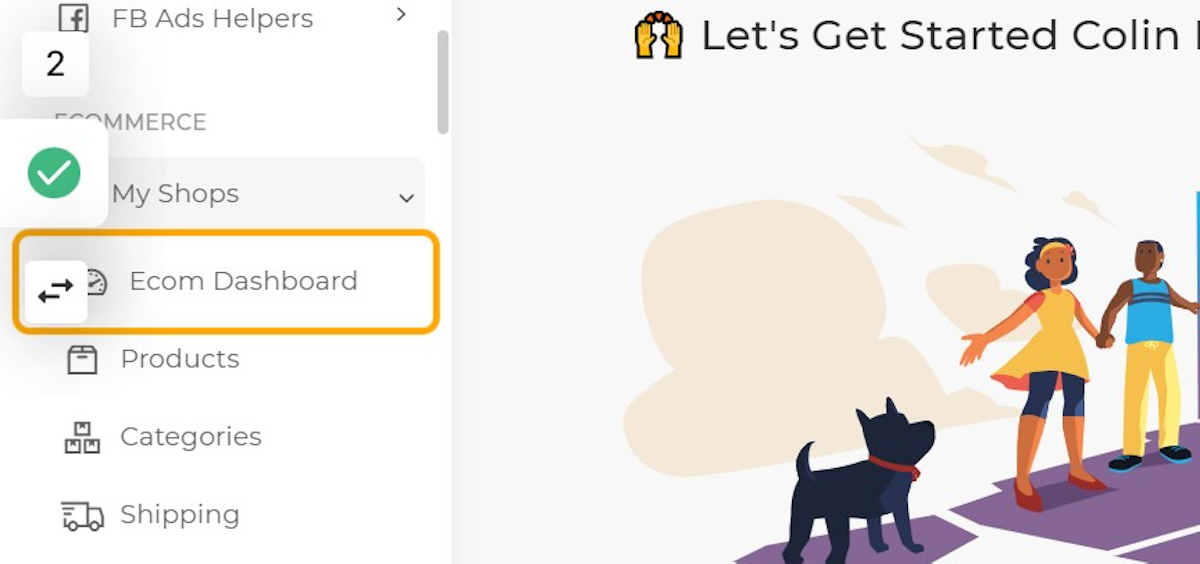
3. Click on Ecom Dashboard
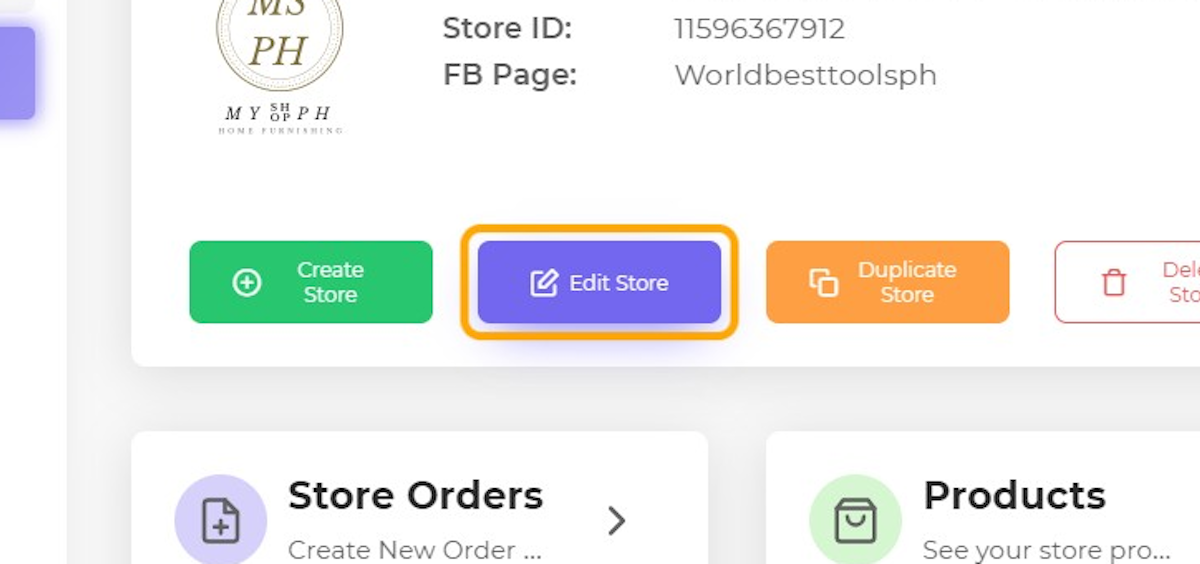
4. Click on Edit Store
5. Change your Store Alias
6. Optionally, you can update your SEO Meta and Social media sharing meta here
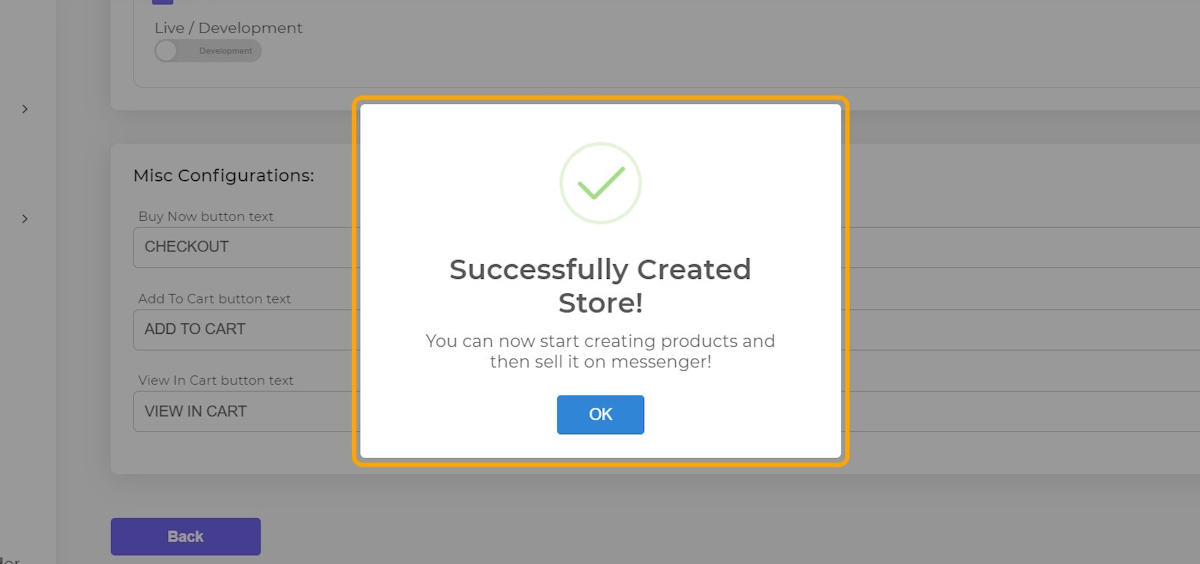
7. Click on Save
8. Done!
Adding A Custom Domain
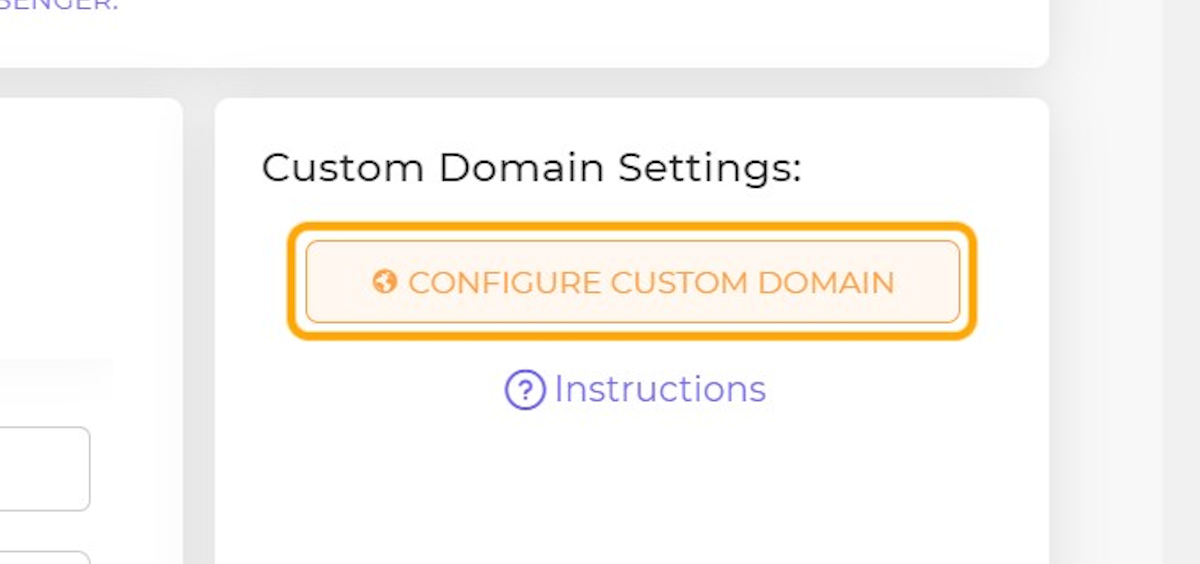
1. Edit your Store, and scroll down until you see the Custom Domain Settings.
2. Click on CONFIGURE CUSTOM DOMAIN
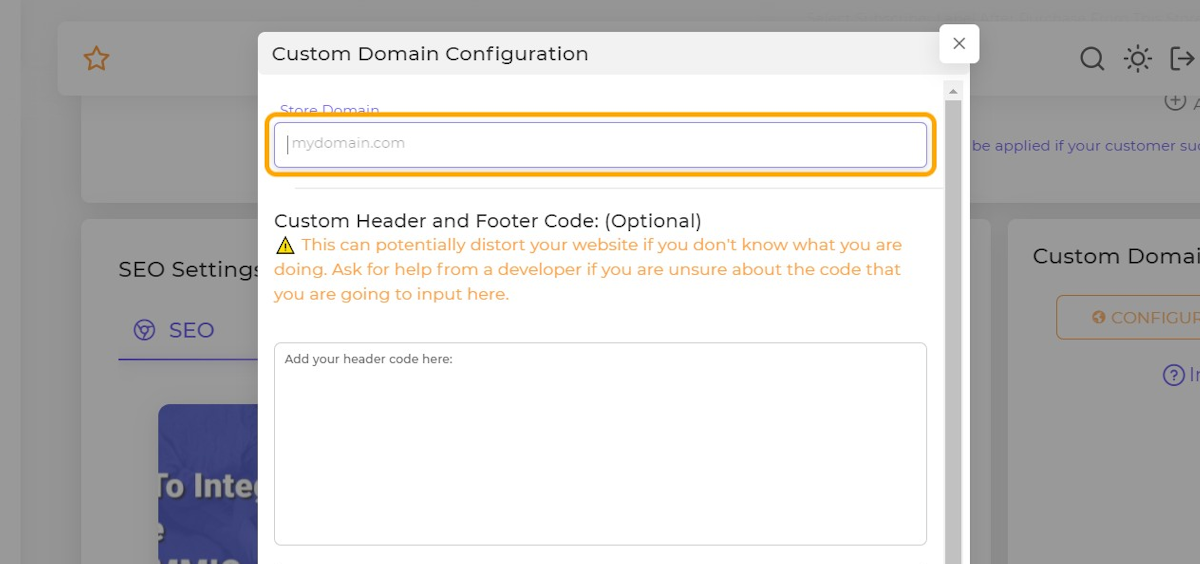
3. Enter Your Domain
4. Click on CONFIRM

How To Enable Custom Domain
Here are the requirements before you proceed on enabling the custom domain feature for your MMIO e-Com store:
1.) You must already have a registered Fully Qualified Domain Name (FQDN).
You can register domain names on common domain registrars such as GoDaddy.com, NameCheap.com and the likes.
2.) Update your domain's DNS records:
You can do any of the two options below:
Option A: Change CNAME record (Recommended)
You can update your CNAME record by pointing it to our domain “marketingmasterio.net”
See set-up below for Main domain and Sub-domain
For Main Domains: (e.g. myshopph.com)
Type | Name | Value |
CNAME | @ |
For Sub-domains: (e.g. mysubdomain.myshopph.com)
Type | Name | Value |
CNAME | mysubomain |
Option B: Change Nameservers
Here's an example how to change nameservers on Godaddy.com
Watch this: 👉 https://www.loom.com/share/2e6b8cd157cb41389c5e284ab5375901
3.) DNS propagation must be completed.
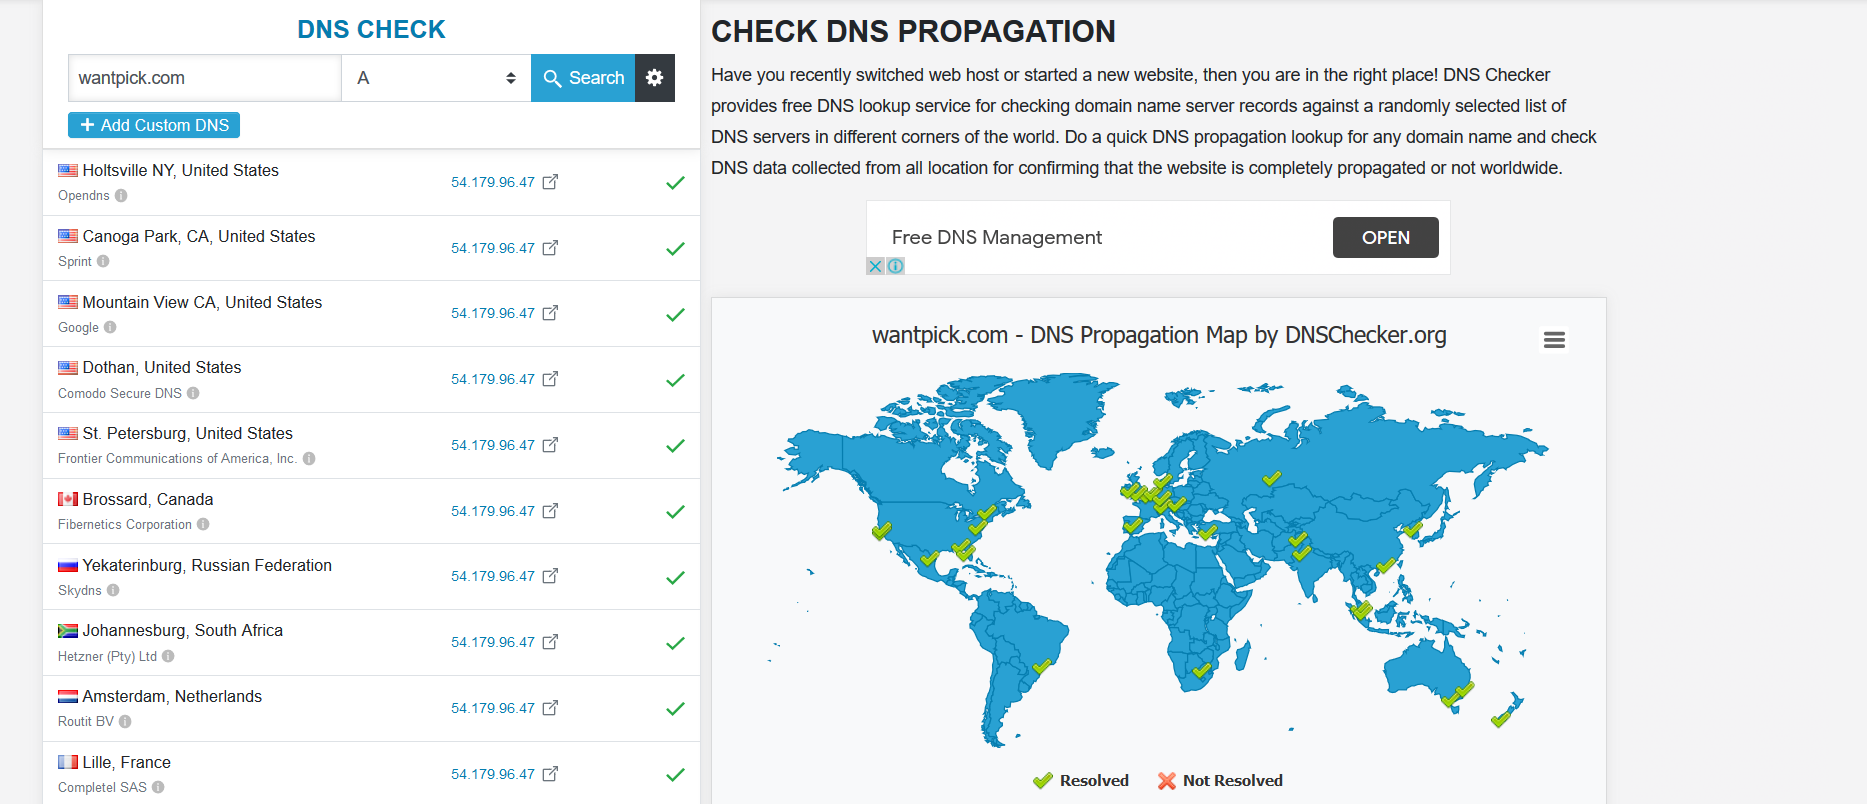
Whenever you change your domain's DNS records, it must be also updated worldwide. This update process is what we call “DNS Propagation”. This process usually takes 4 to 48 hours after changing the DNS record.
If you want to check the status of your DNS Propagation, you can use tools like 👉 DNS Propagation CHECKER
You would know that the DNS Propagation is finished once all location is resolved (See sample below)
Have more questions? Please open a support ticket.


