Introduction
Here's the outline of our discussion. These pretty much summarizes the methods needed to integrate Amazon SES with MMIO.
Creating an account on SendGrid.
Create and validate a Sender Identity
Creating an API Key
Enable the Integration in MMIO
Requirements:
You must have your own domain email, ex: john@myowndomain.com
Using gmail.com or yahoo.com as your “Reply to” email, or your “Sender email” is NOT recommended because it will be treated as spam.
Don't have a domain email?
Here's how to get one, simply watch and do the series shown here → REGISTER AND USE GMAIL USING OWN DOMAIN
All the required steps ready? Should we begin?
1. Creating an account on SendGrid
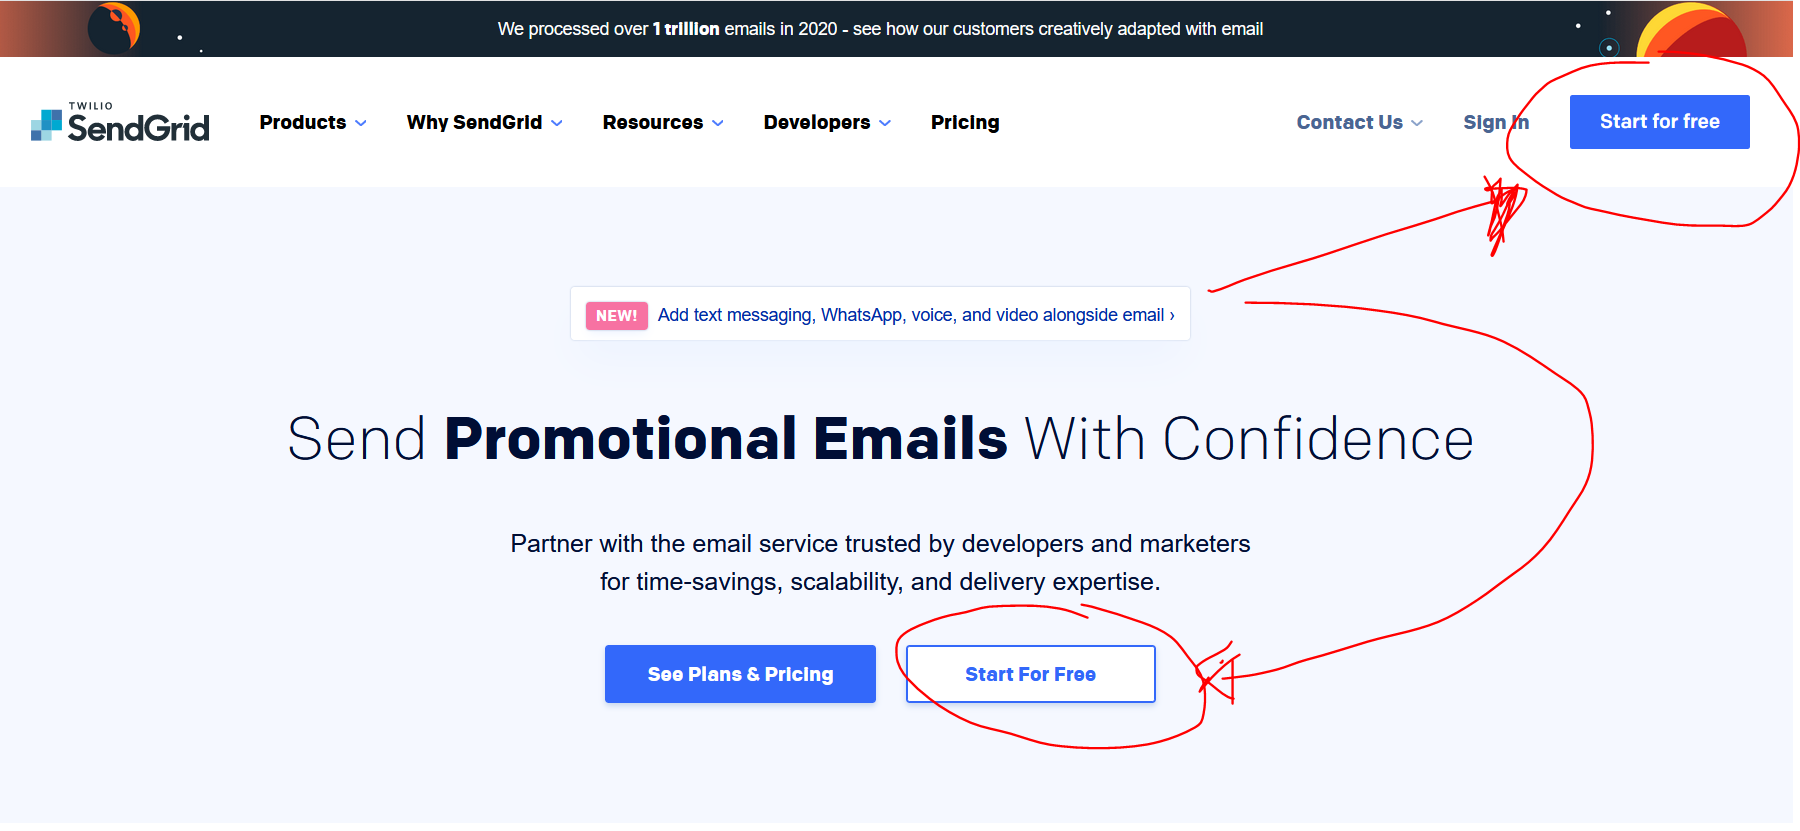
First, go to SendGrid.com and register a new account.
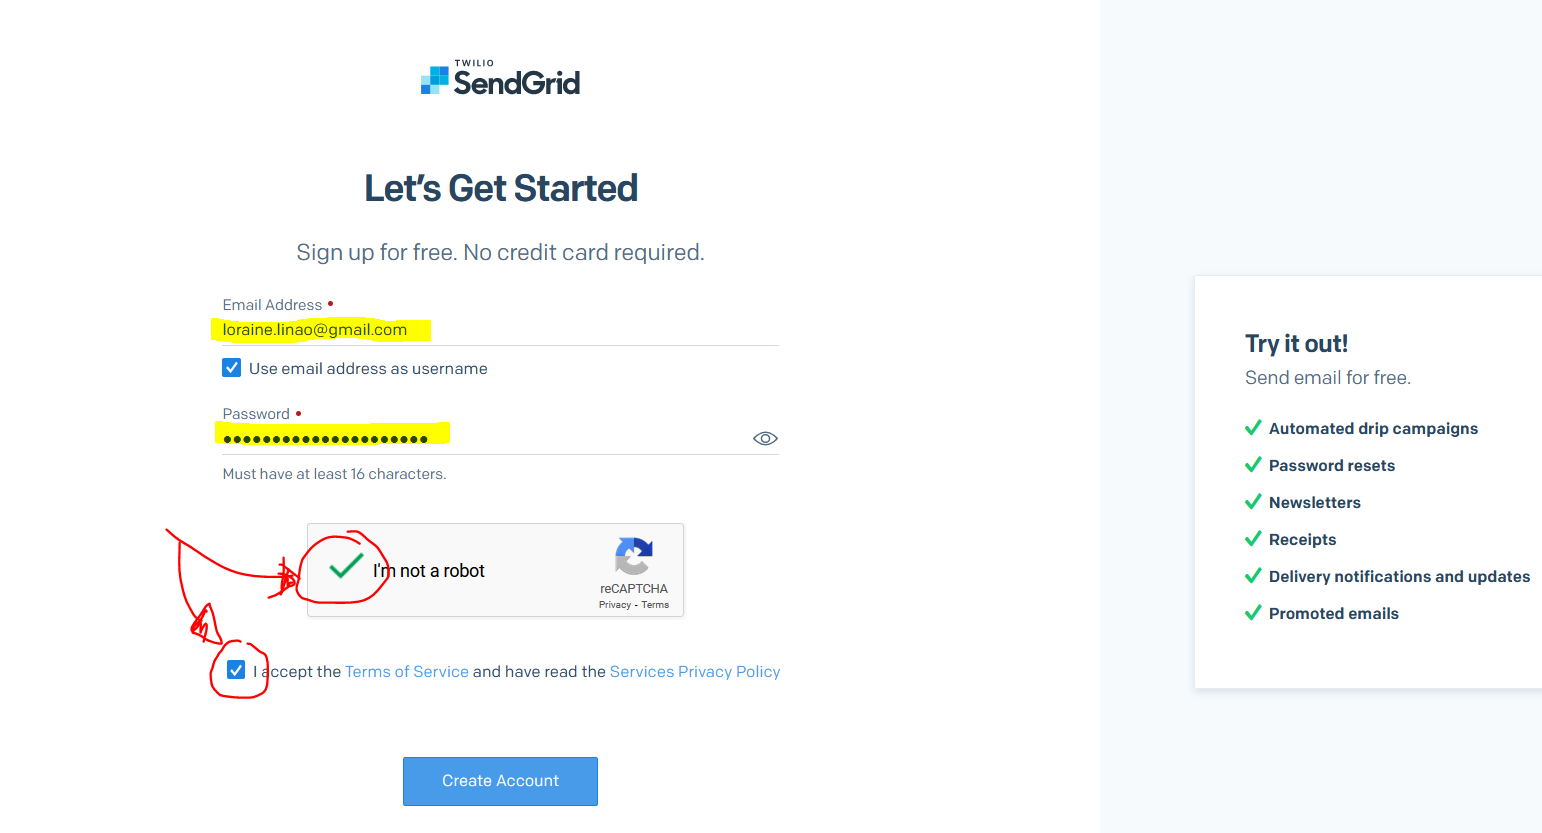
Then fill-up the required fields on the sign-up form:
And add your personal information, plus your business's information.
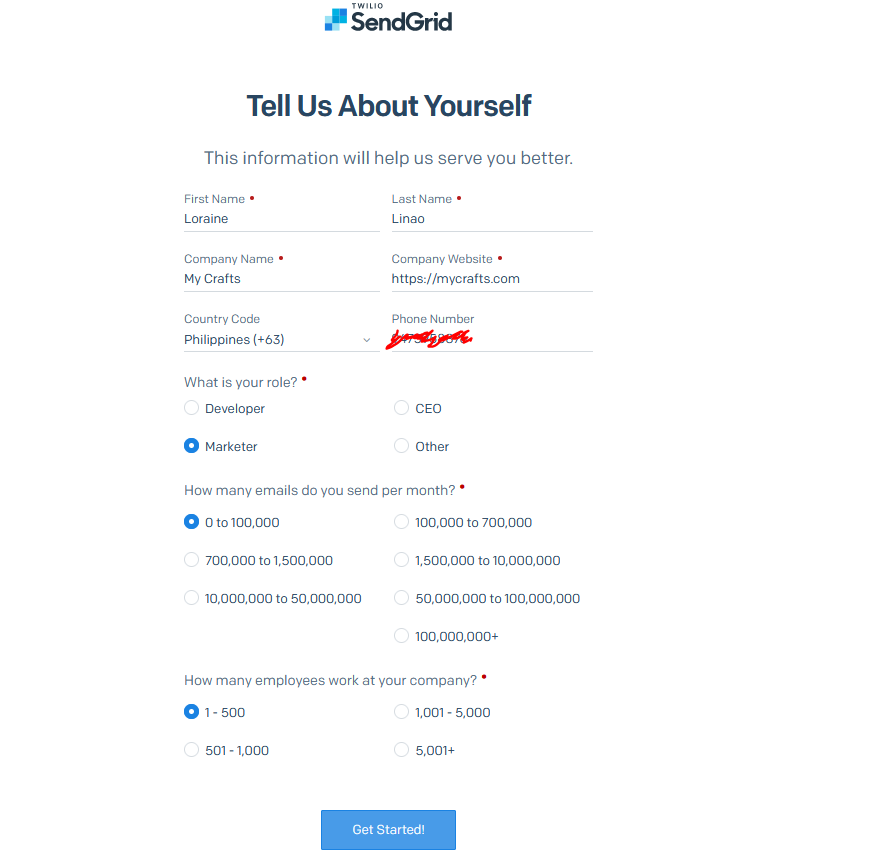
After completely filling-up the required details, click “Get Started” button.
If all things are good, you should be redirected to your new SendGrid account dashboard.
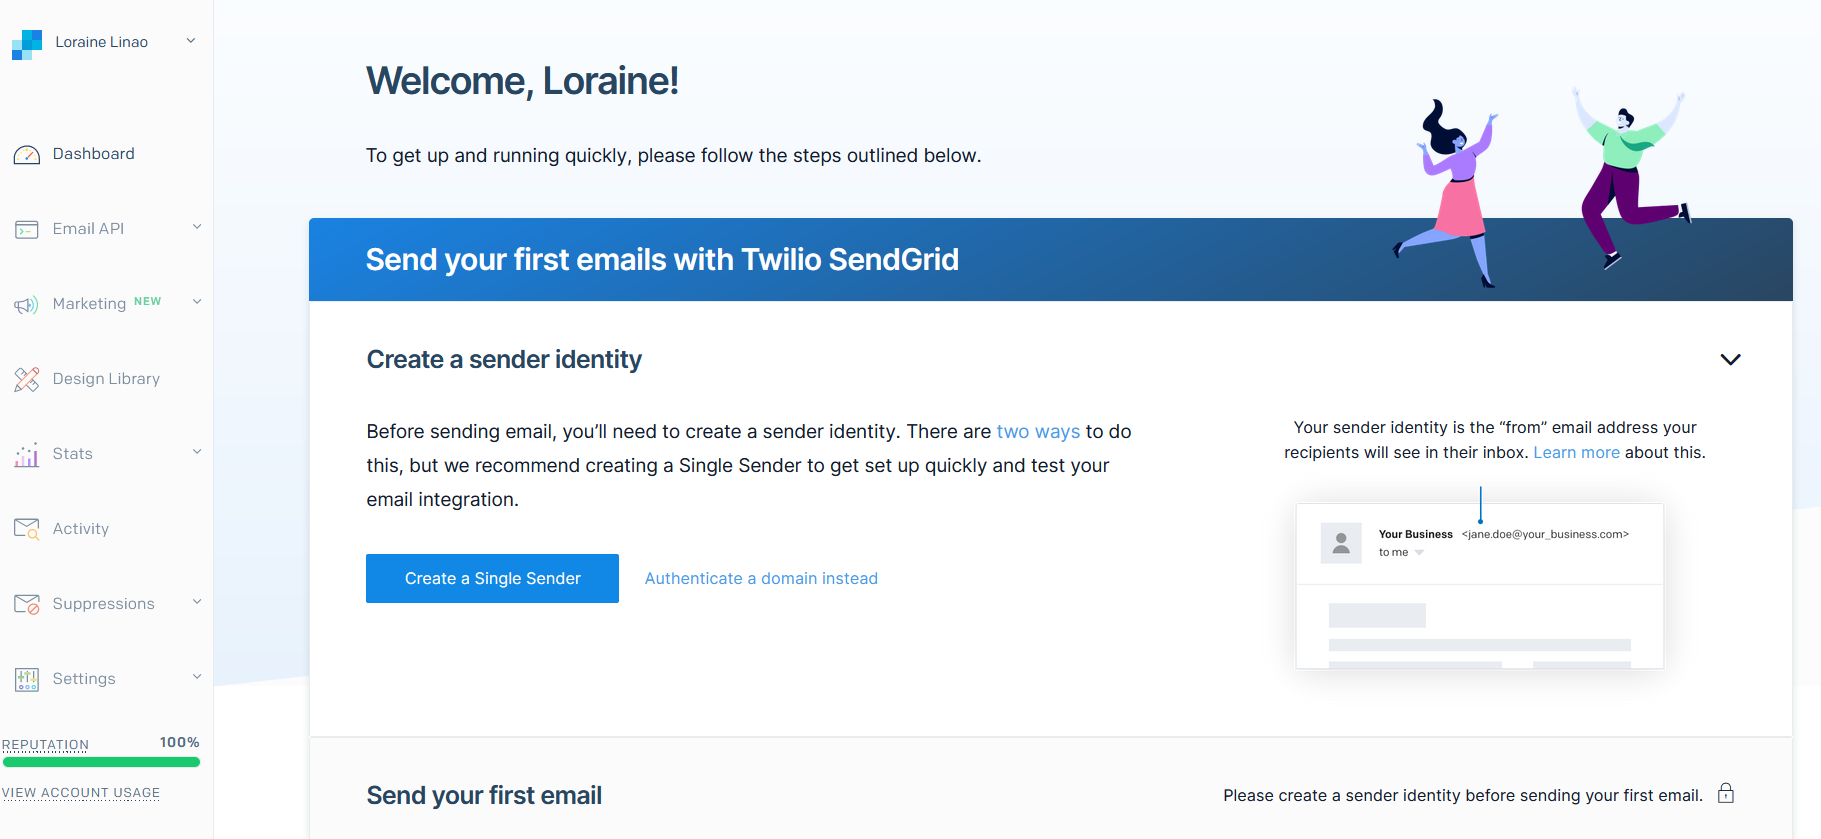
Next crucial step is to verify your email address.
Check your Email's inbox for SendGrid's email verification link.
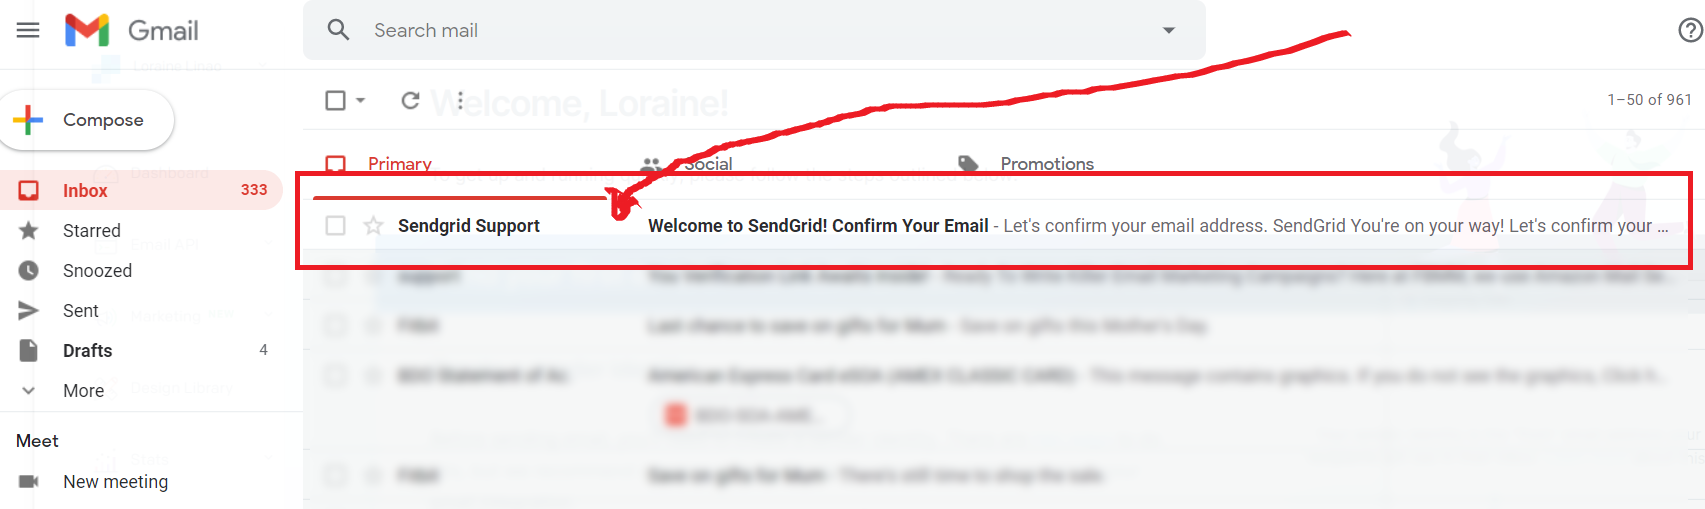
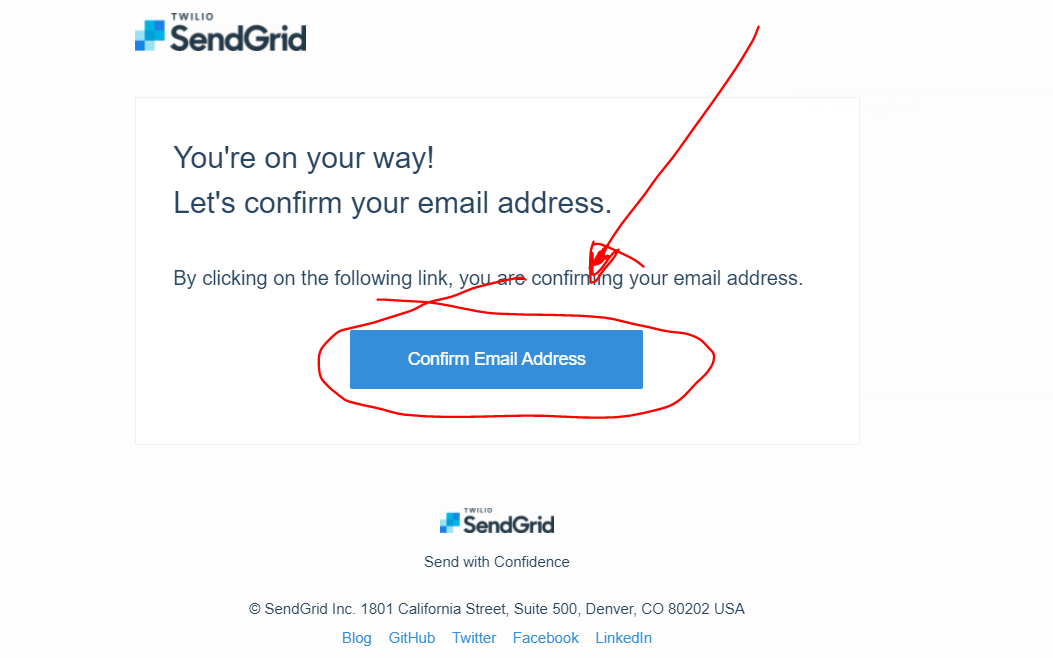
You should receive the email as shown above. Open it and click “Confirm Email Address”
2. Create and validate a Sender Identity
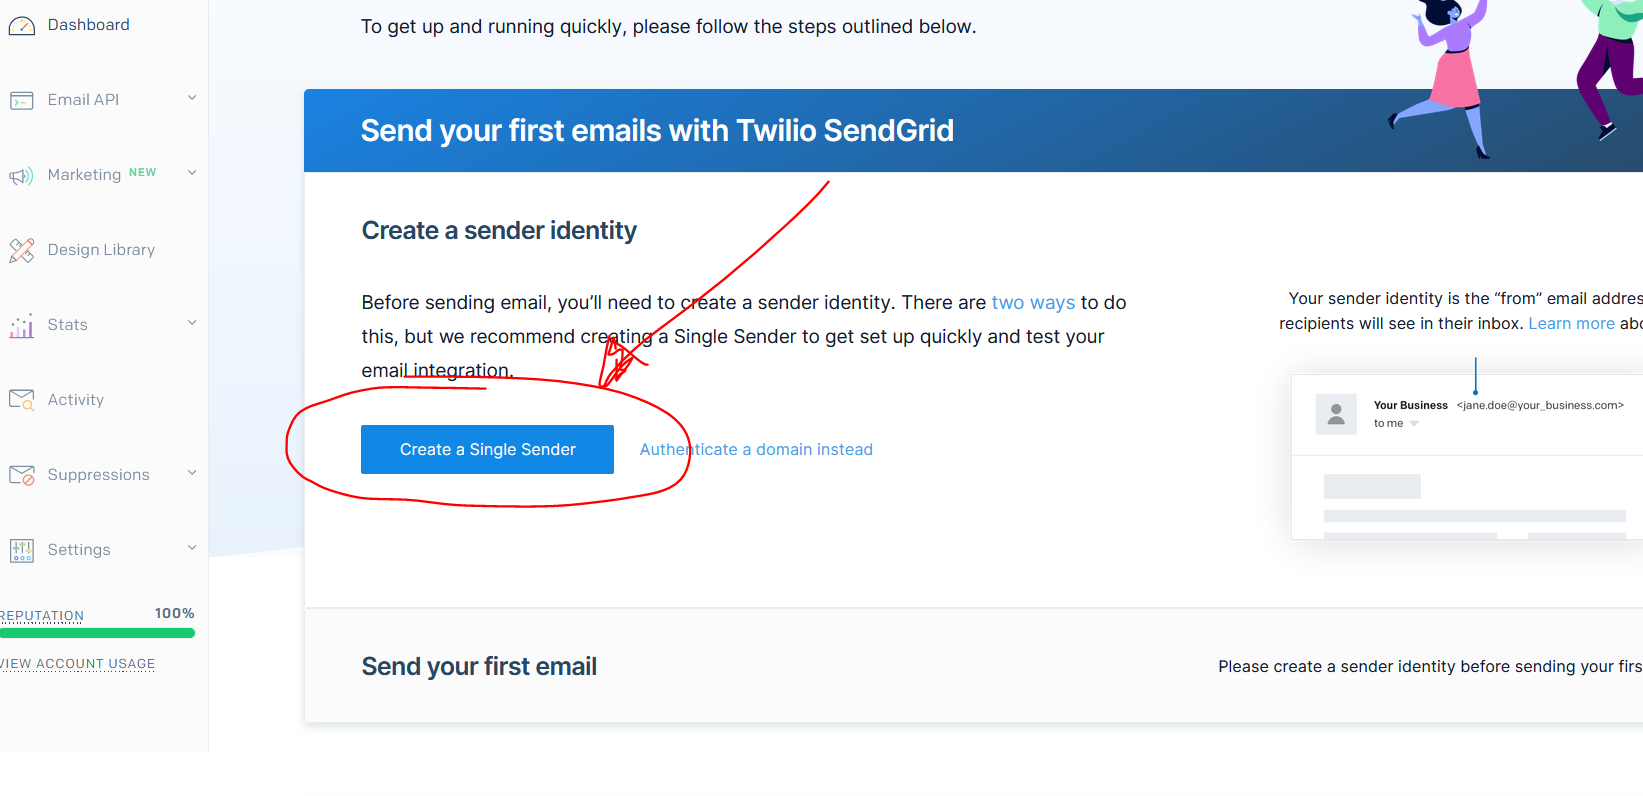
After successfully confirming your account Email address, time to create your Sender Identity.
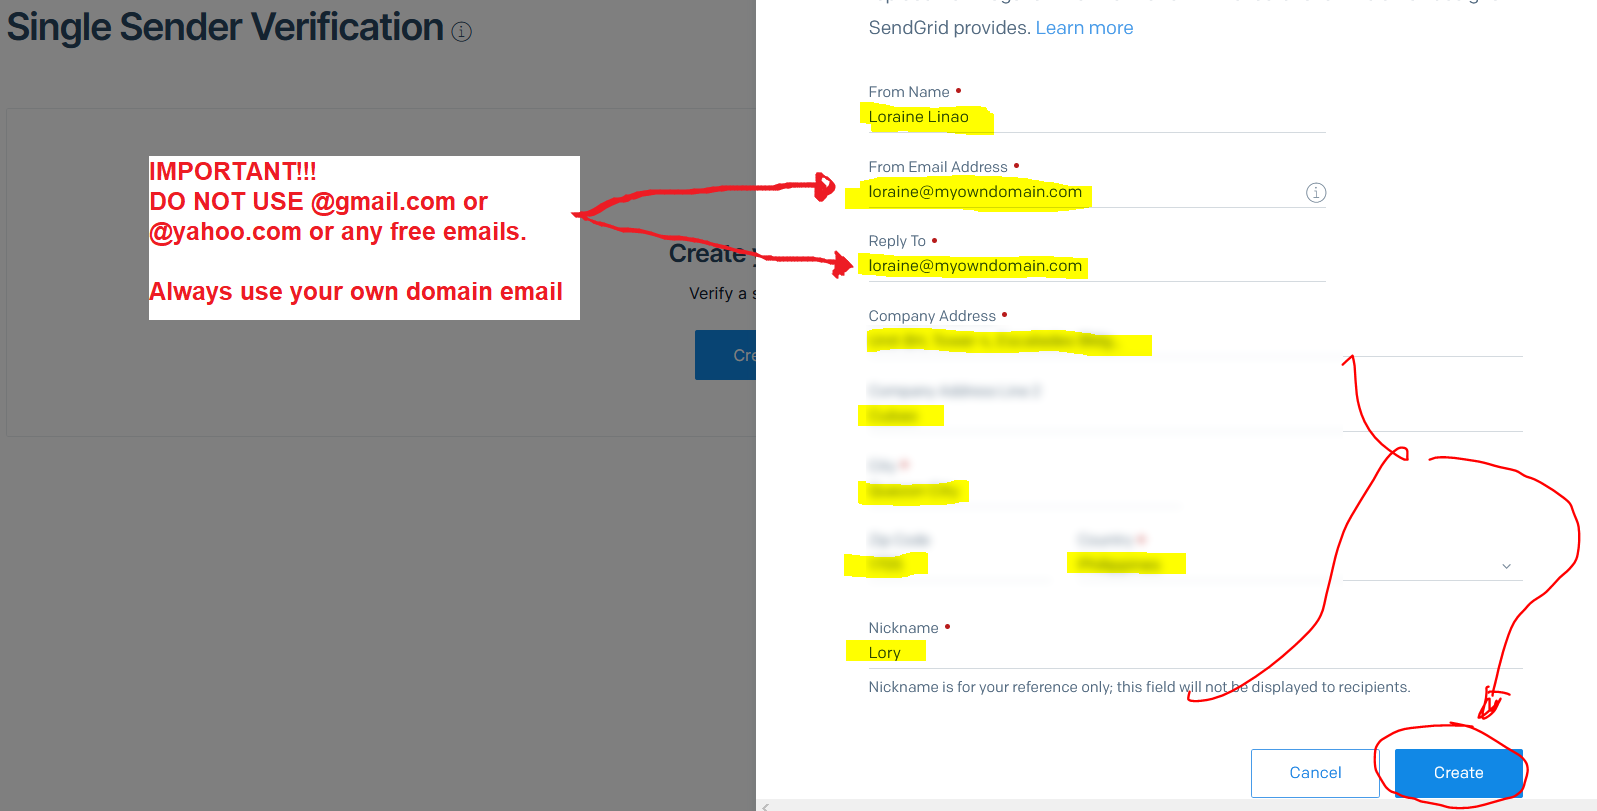
Let's do the recommended method which is to set-up a Single Sender
When registering your “From Email” and “Reply To” email, it very important that you DO NOT @gmail.com or @yahoo.com or any free emails. You should always use your own domain email.
If you don't have one yet, then refer to the link we provided below:
Here's how to get one, simply watch and do the series shown here → REGISTER AND USE GMAIL USING OWN DOMAIN
Once all fields are filled-up, click the “Create” button.
You should see this notification on your dashboard.
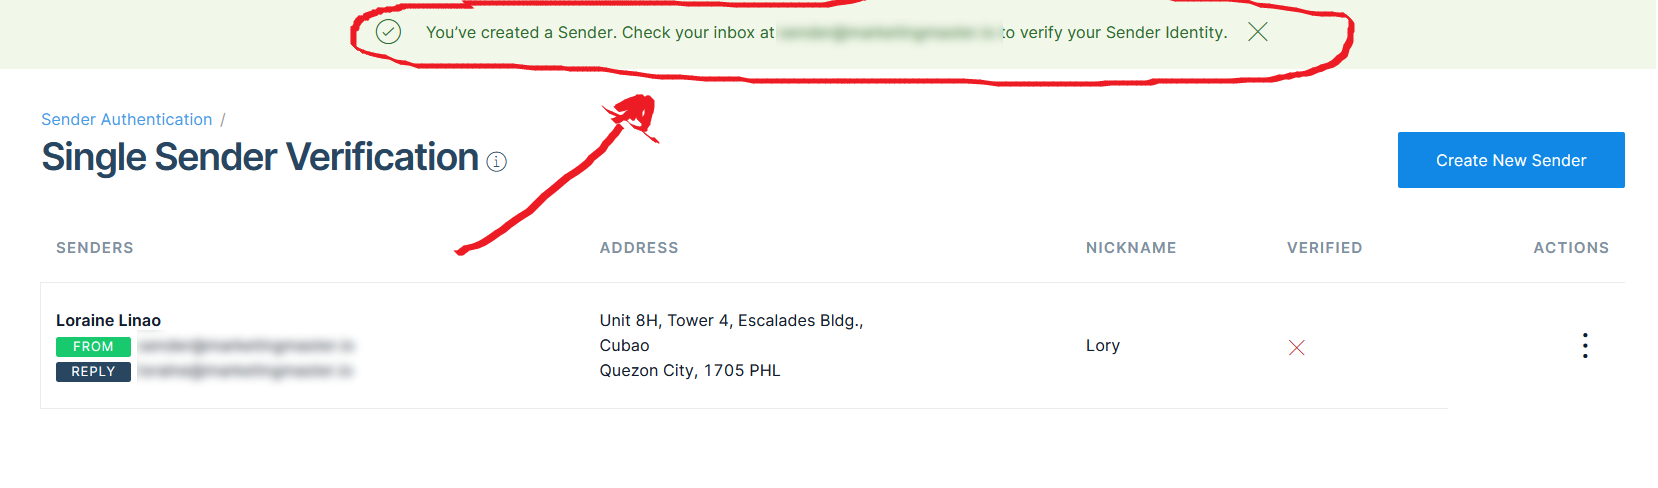
Next step would be to check your email for the confirmation link.
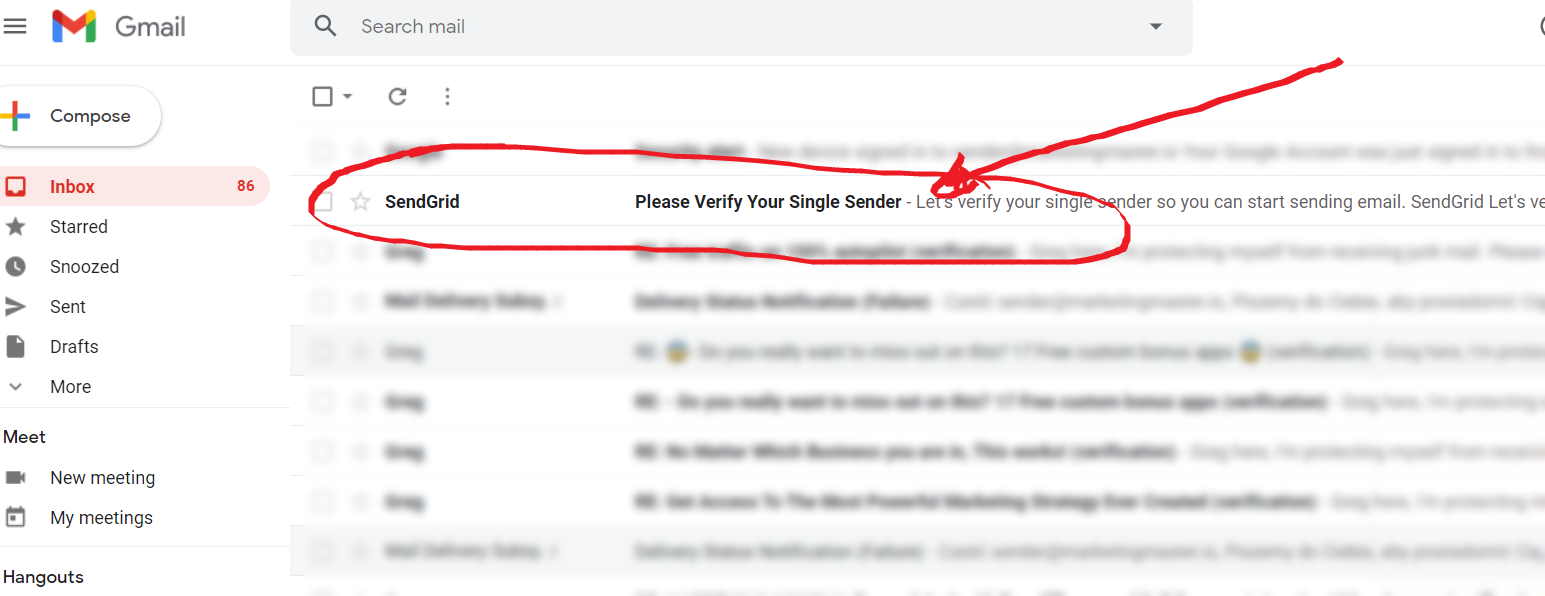
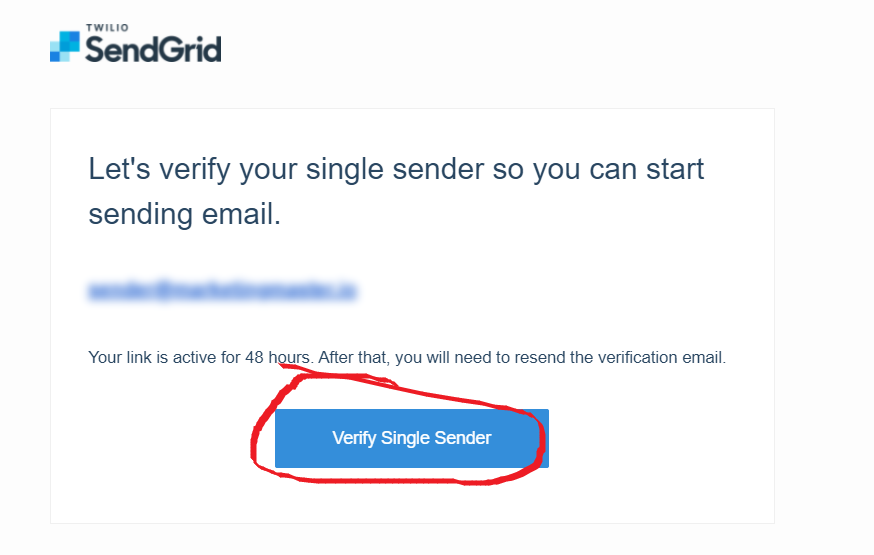
Once you see SendGrid's email verification, open it and click “Verify Single Sender” button.
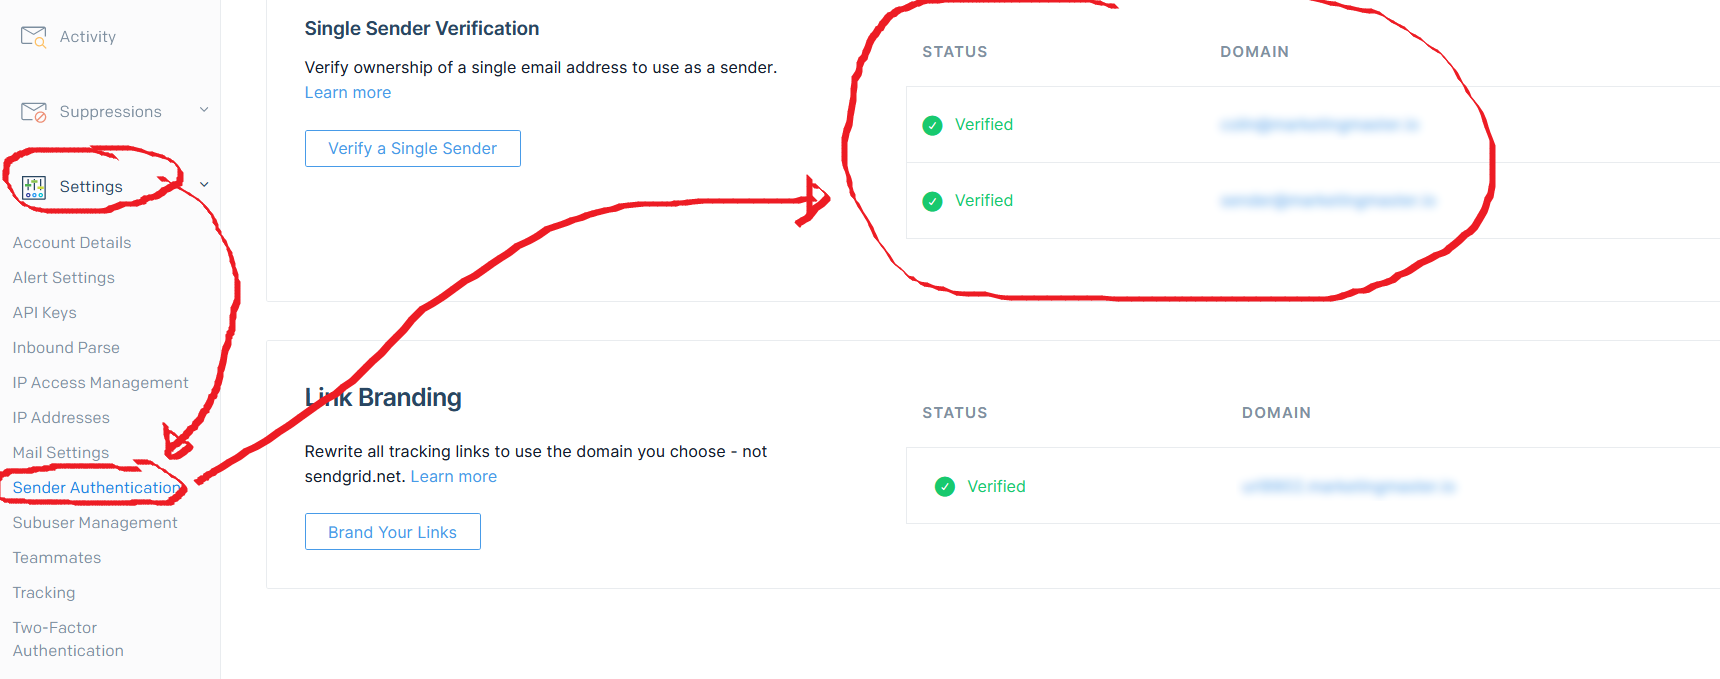
Once you have verified your email, you should be able to see the status on your dashboard.
Go to “Settings” → “Sender Authentication” → you should see the "verified" status for your email, as seen below:
TIP:
It's highly recommended that you also verify your domain when using SendGrid.
Read and do what's outlined on this article on How you can set-up domain authentication with SendGrid.
→ https://sendgrid.com/docs/ui/account-and-settings/how-to-set-up-domain-authentication/
Okay, are you done creating your Sender Identity? Let's proceed to the next step.
3. Creating an API Key
Once you have a verified Sender Identity, we can now proceed to the next step which is to create our API KEY.
This API Key will be used to integrate your SendGrid account with your MMIO Email Integration.
Also remember you sender identity as this will be the email you should use on your “From Email” on your MMIO Email marketing campaigns.
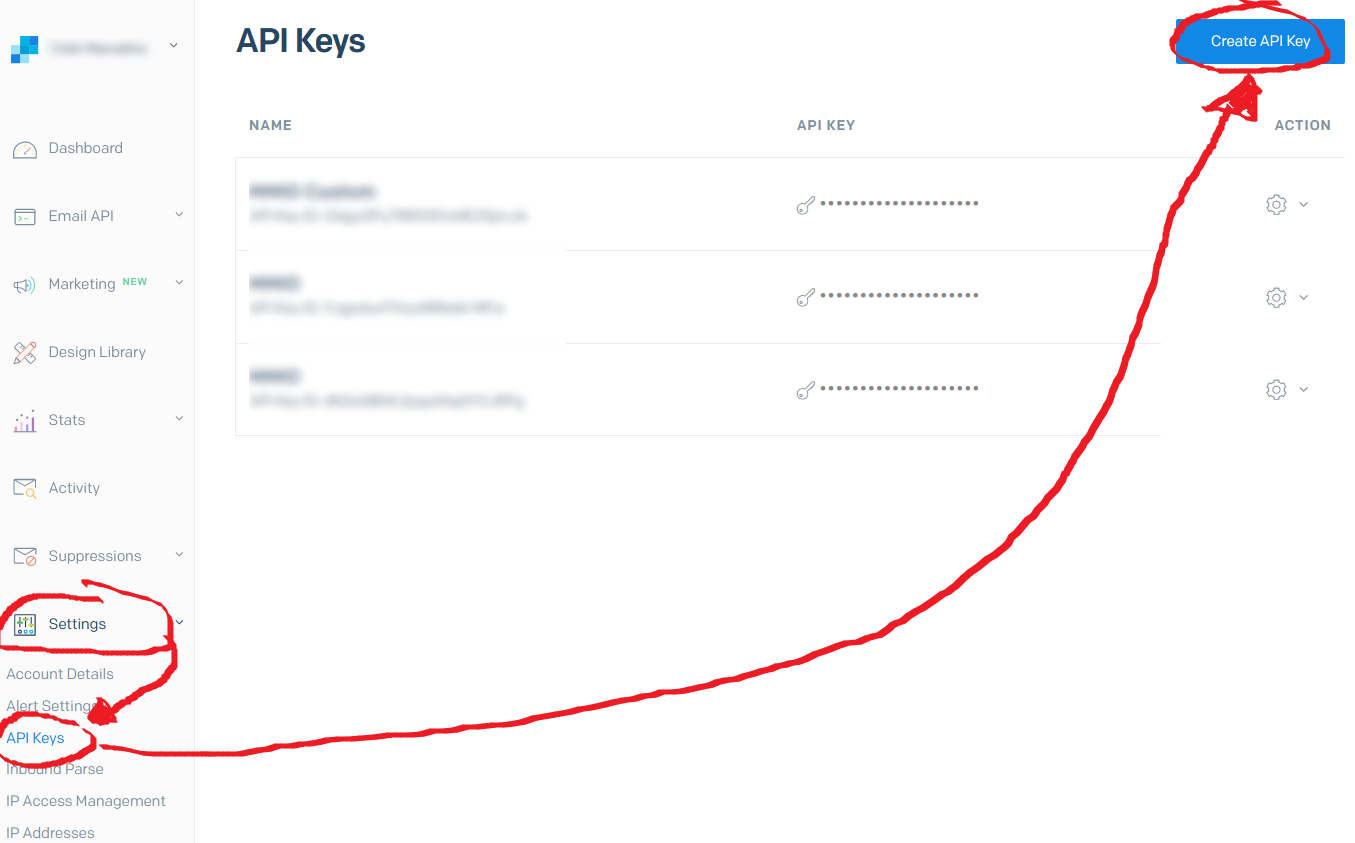
To create your API KEY, go to “Settings” → “API Keys” → then click the "Create API Key" button.
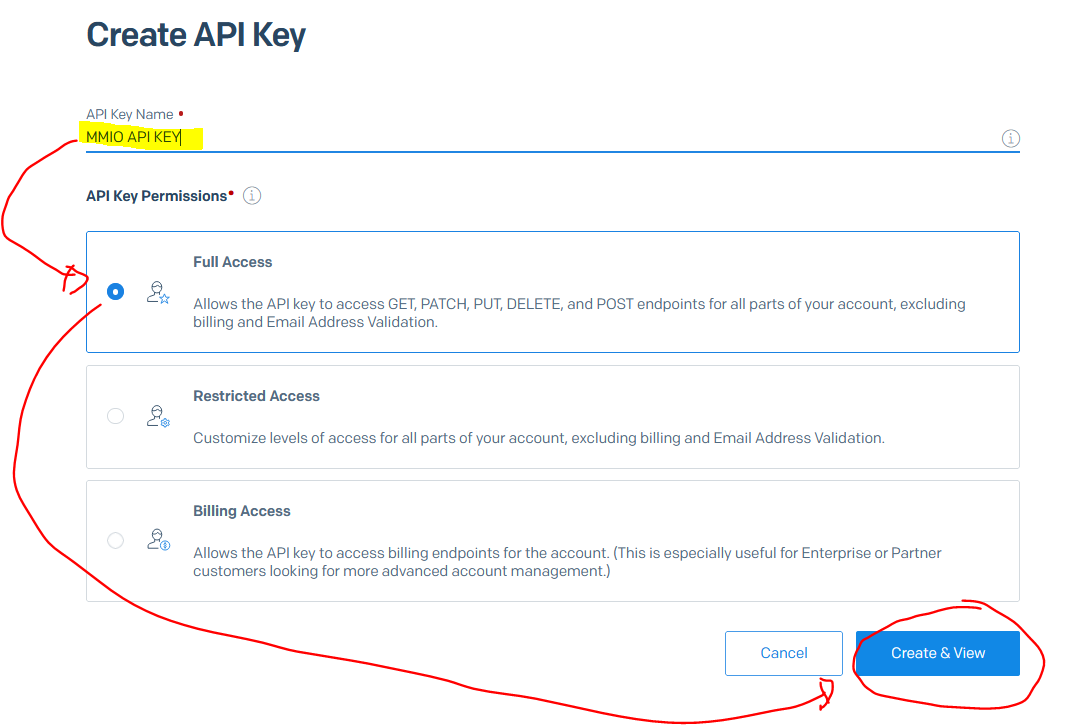
Enter your API Key name and enable the “Full Access” option → then click “Create & View”
After that, you should see your API key shown on your screen:
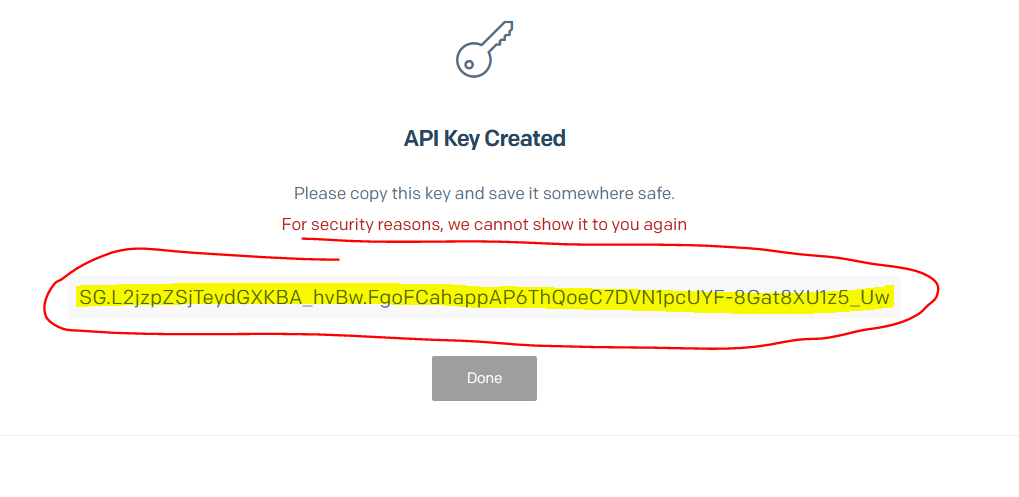
⚠️ VERY IMPORTANT!
Make sure to copy your API KEY on a secure location for security reasons. This will be the last time SendGrid will show you this API key. So if you fail to copy and save this API key, then there's no way you can get it again.
4. Enable the Integration in MMIO
Now that we have both the verified sender identity and the api key ready, we can now integrate our SendGrid account with our MMIO account.
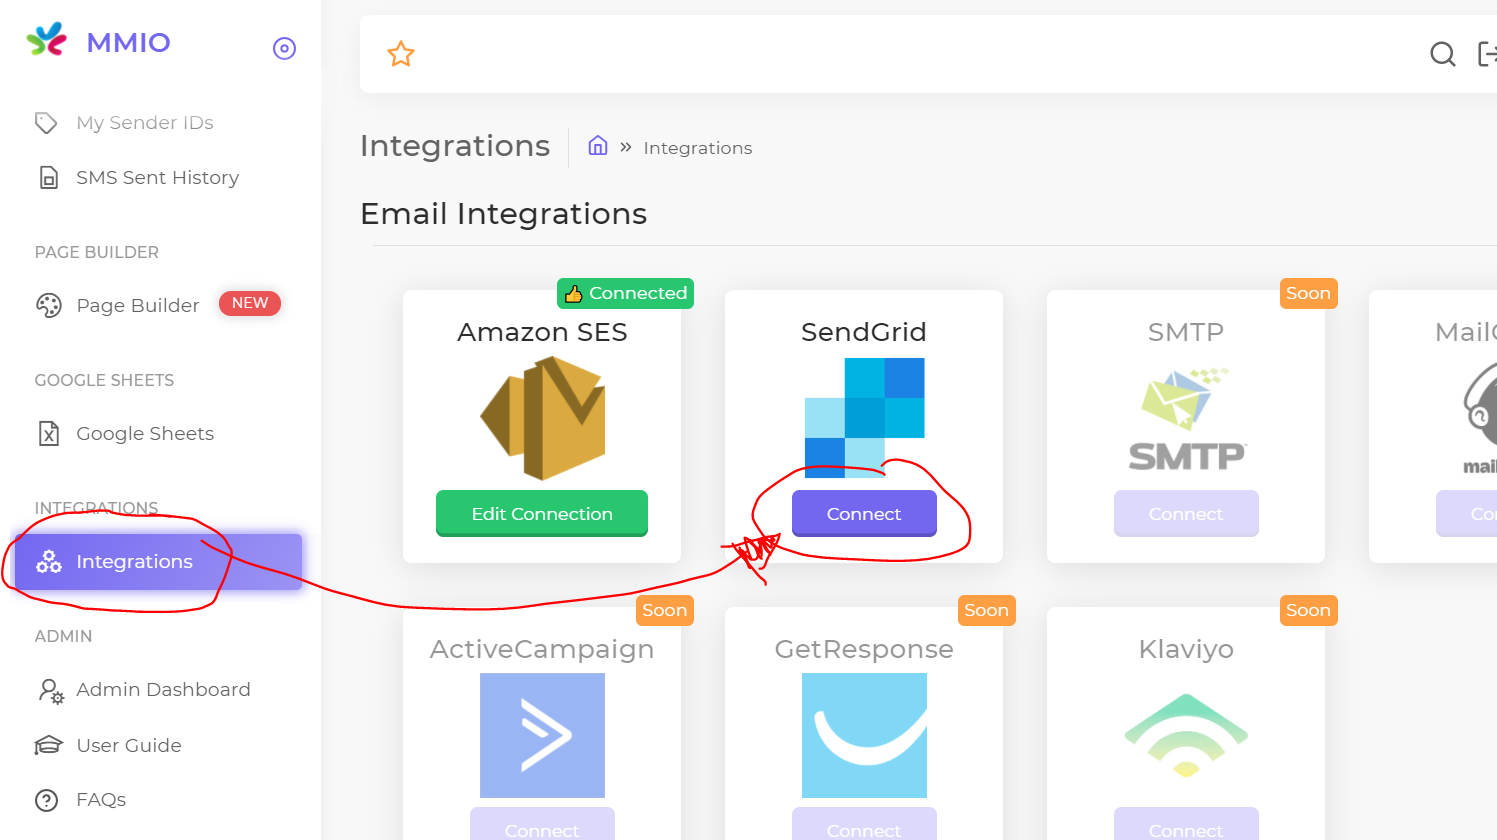
Simply login to your MMIO Account → Go to Integrations → click “Connect” button under SendGrid.
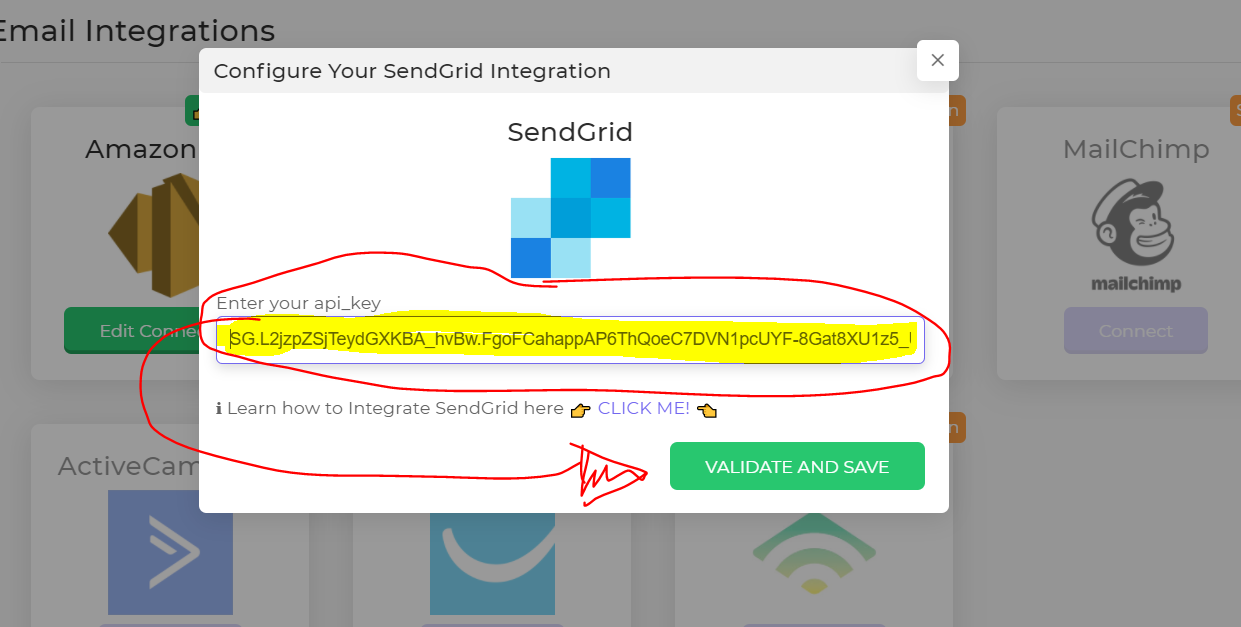
Then enter your SendGrid API KEY and click “Validate and Save” button
Once this is done successfully, you should see the “Connected” notification above the SendGrid integration.

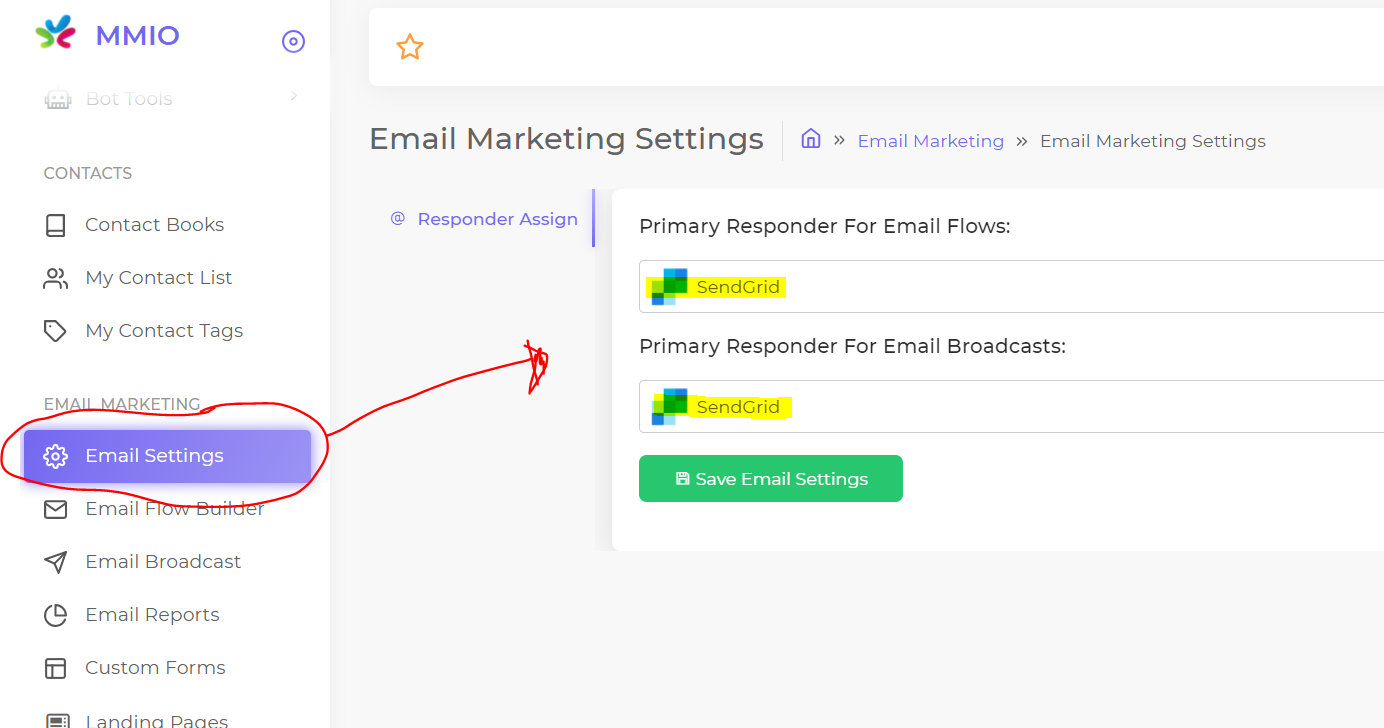
Now, you can go to your Email Settings and assign SendGrid for your Email Broadcasts and Email Flows.